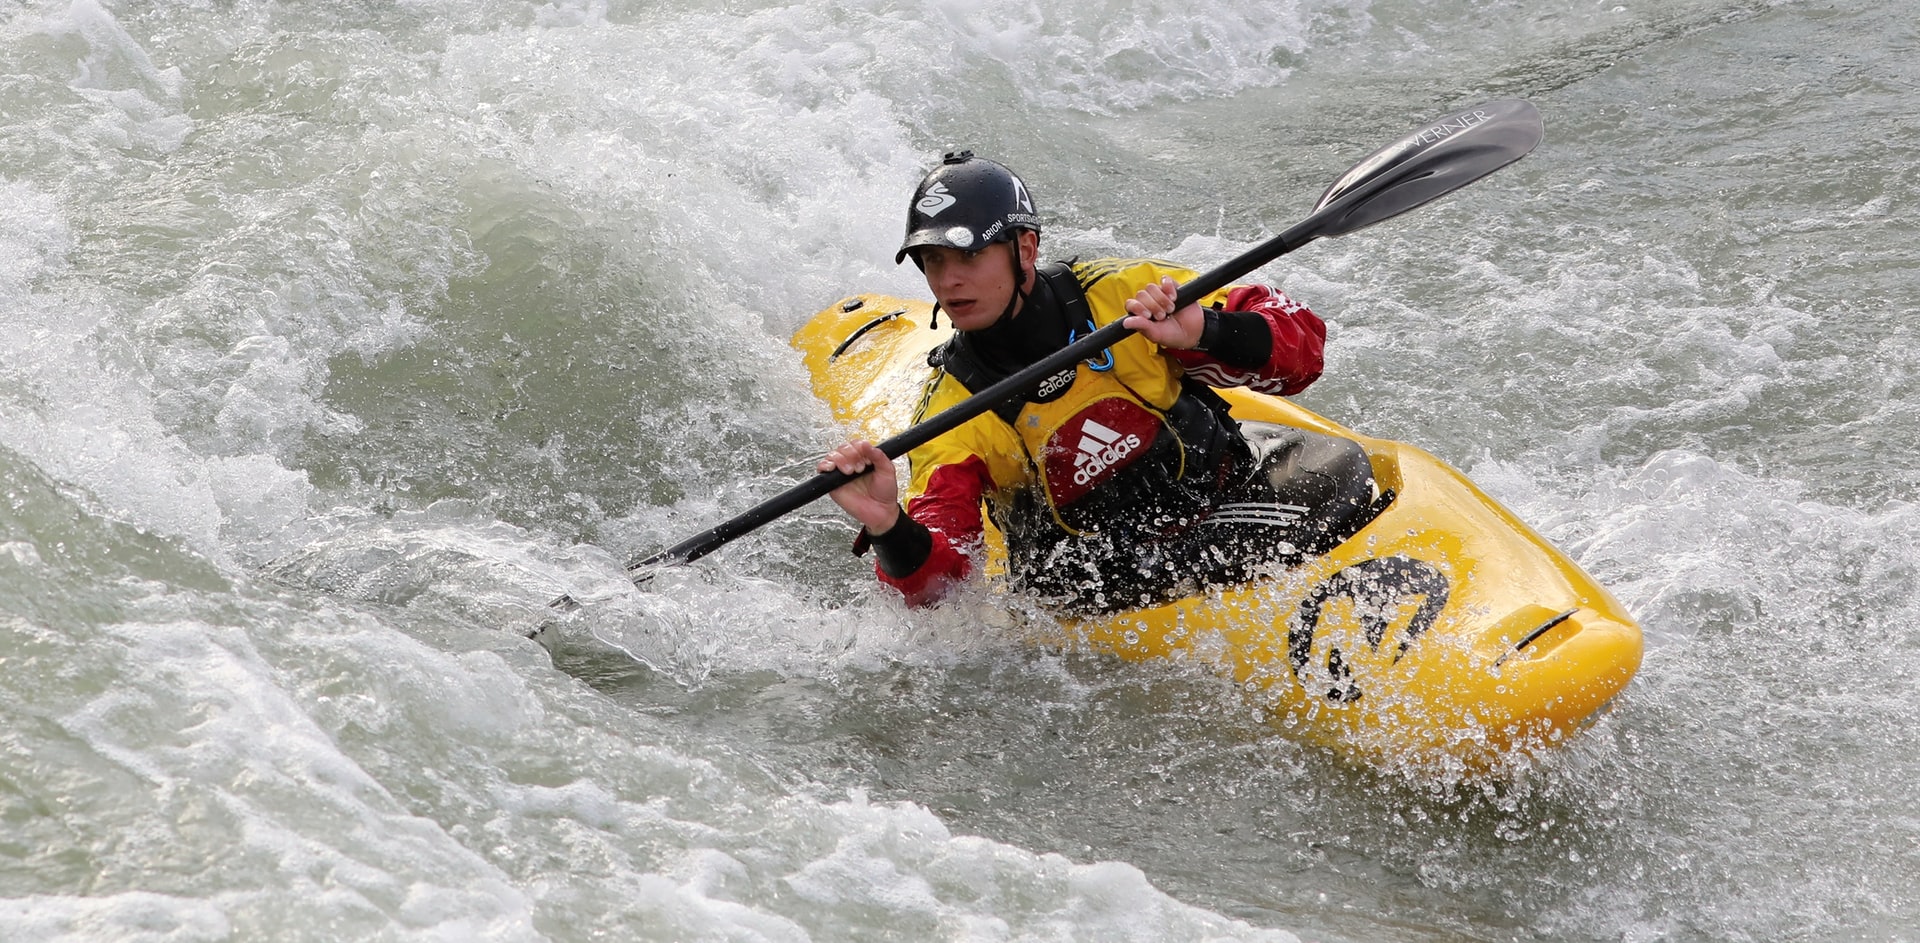
Almost anybody, regardless of woodworking expertise or understanding of the differences between strip and plywood construction, can build a kayak.
Consider making your own kayak if you’re seeking for a decent shoulder season project to accomplish in your garage or boathouse before it’s time to open up your camp, or if you’re searching for a continuing education experience that will conclude with a collectible souvenir.
Experts propose a kit or a course for first-timers who want to build their own kayak.
The kit for build a kayak
The benefits of buying a kayak kit include tried-and-true design, premeasured and precut components, and, most significantly, customer assistance, which includes written instructions and live troubleshooting if you have a problem.
Strip construction and plywood construction are the two main forms of kayak kits. Your decision may be influenced by the sort of water you’ll be paddling as well as your personal aesthetic preferences.
After you’ve decided on a style, look for a suitable kit bundle. When deciding which kit to purchase, make sure to inquire about what is included and what extra is required.
Wood, fibreglass fabric, epoxy resin, forms, a strongback, cockpit coaming, bulkheads, varnish, and application materials including squeegees, vinyl gloves, and rollers are common things found in kits.
The course to build a kayak
There are some people who are hesitant to open a box and start from the beginning on their own, or who lack the tools or space necessary to build a boat at home.
Taking a boat-building class is a fun way to learn.
How much does it cost to make a kayak?
Labor makes up the majority of the expense of making a kayak, but doing the work is part of the enjoyment, so we won’t include it here.
We won’t count it since some individuals are extremely adept at scrounging up resources or having particularly good access to quality goods for a low price, but it’s worth searching around for unexpected sources of supplies.
The following are some approximate estimates of how much it will cost to build a kayak.
- For each foot of boat length, a strip-built kayak requires roughly 2 board feet of wood.
Longer and larger boats will obviously require more lumber, while shorter boats would require less, but this lumber will often cost $150 to $200.
For $50-$150, you can make stripper forms out of one sheet of cheap plywood or MDF and instal them on a basic 2×4 or plywood box beam. - A stitch and glue boat will most likely need many sheets of high-quality marine-grade plywood, which can be rather costly per sheet.
Plywood costs between $180 and $250 for a basic boat. - The prices of both fibreglass and epoxy are roughly the same.
For a normal kayak, figure on roughly 4 times the length of the boat in fibreglass, which costs around $150 to $200.
A kayak will also require 1.5 to 2 litres of epoxy resin, which may cost anywhere between $100 and $200. - You’ll also need a variety of sundries, sandpaper and brushes, for which you should budget approximately $100.
How to build a Kayak?
The following are the steps to take when constructing a kayak.
- Choosing a kayak design
If you want to use your kayak for overnight journeys, a longer, narrow kayak will be quicker but less stable and carry fewer stuff.
If you want to buy a sea kayak, you should search for one with a hull that is between 15 and 18 feet long.
- Make a plan
You may buy designs from a variety of places or use a process called lofting to make your own from books.
You build outlines of the forms, which are cross sections of the hull at regular intervals, by using the measurements in the table.
- Make a platform
To create your kayak, you’ll need a platform or a long table. You constructed one out of particle board, leaving just a tiny shred.
You mounted the table on a pair of sawhorses and secured it in place using scrap wood.
- Kayak parts to make and cut
Plan outlines then transferred to poster board to create full-size templates, which would then be traced onto particle board to create the forms.
The forms were then slightly over-sized with a jigsaw, and their edges were smoothed and trimmed to the contour with a drill press drum sanding bit.
- Cover the borders of the parts
The strips will be stapled and glued to the forms along their edges. To avoid leaking glue from permanently bonding the hull to the forms, some shielding on the forms is required.
All forms, including stem moulds, should have their edges covered. This works nicely with plastic packaging tape.
- The parts are being attached
They’re screwed together, with extensions on the deck side of the forms holding them a few inches above the table.
Once all of the forms are in place, they must be double-checked and modified to ensure that their centerlines are aligned.
They may also need to be modified so that there are no gaps or high areas when a strip of wood is put over them.
- Strips are milled
To keep the strip thickness consistent, use the table saw with feather boards fastened to the guide and table.
Cut more than enough strips using a small kerf blade, as some will break or have big knots or other issues.
They don’t have to be the entire length of the boat; on the hull, they might be scarf or butt joined.
The hull’s strength is provided by a wood core laminated with fibreglass rather than continuous strips.
Estimate the amount of full length strips you’ll need by measuring the circumference of the widest from and dividing it by that number.
After all of the strips have been cut, grind the edges with a router table and a bead and cove bit. Because the cove is more delicate, cut the bead first.
- The stem should be laminated
The stem strips must be heated and clamped onto the stem shapes before being glued together.
For each inner and outer stem, 3 or 4 strips are often used. For adhesive, use epoxy that has been thickened with sanding dust.
Don’t attach the inner stem to the outside stem while glueing the stem strips together.
- Connect the stems
The inner stems may be joined to the stem mould with a screw through the final hull form into the end of the stem and a screw through the other end of the stem into the stem from after the glue for the inner stems has built up.
The stems must be cut with a plane so that the planks’ ends lie level against them. This gives the adhesive bond a firm foundation.
- Putting the sheer clamp together
On either side of the kayak, the sheer clamp is a piece of wood that spans the length of the kayak.
It is used to secure the hull’s bottom portion to the deck. Screws are used to secure it to the forms’ notches.
To protect it from being stuck to the hull, wrap it with plastic packing tape. On the ends, the sheer clamp must be cut at an angle so that it will come together and butt uniformly against the stem.
In order to do this, a notch in the bow and stern forms must be carved.
- The hull is being stripped
Starting at the portion of the form closest to the strong back, connect strips to the forms and work your way to the middle of the hull. To hold a bead of glue, attach with the cove side up.
Glue and staple the strip’s ends to the stems, letting the strip go a little past the stem. On each side, 3 or 4 strips can be connected. Allow the adhesive to dry before adding additional.
Masking tape can be used to keep the strips together where they appear to be pulling apart between the forms.
- Outer stems are attached
Trim the strips flush with the bow and stern stems once the hull has been entirely removed. The outer stem is then mortised into the hull bottom and thicker epoxy bonded to the inner stem.
The outside stem is held in place using wax-coated screws. When the adhesive has dried, they will be removed and the holes will be filled.
- Sand and plane the surface
All staples should be removed. The intersections of strips at hull curves are a little squared off.
To make the hull smooth, these joints should be planed. To achieve a smooth or fair hull, sand the hull with coarse, medium, and finally fine sandpaper.
- Coat the lower hull
Fiberglass cloth is draped over the hull, just past the stems, and smoothed down with a soft bristle brush.
Small quantities of epoxy resin and hardener are then applied to the fabric in 2 to 3 foot long portions, working from side to side.
Three coats of resin or hardener are applied: the first wets the fabric and soaks it into the wood hull, the second fills the weave of the cloth, and the third protects and finishes it.
Except for the third, each layer should be squeezed with a plastic scraper and applied only after the preceding coat has become sticky.
- Deck scrubbing
The screws attaching the mould extensions to the station blocks must be removed once the epoxy on the hull has dried, and the hull must then be flipped.
The hull was then held in place by two ply wood cradles that were attached to the station blocks while the deck was removed. The shear clamp is clamped and bonded to the first two strips on either side.
Then, with small finishing nails, one strip is put down the middle and temporarily connected to the forms. From the centre strip to the outside margins, the remaining strips are put.
- Coat the fiberglass to deck
The procedure is the same as for the lower hull. The extra epoxy may be trimmed off with a utility knife once it has set.
Inside the hull, fibreglass cloth is placed and secured with clothes pins, then smoothed with a soft bristle brush. The inner stems are almost visible through the fabric.
Epoxy is applied in the same manner as it did on the outside. In addition, broad strips of fibreglass cloth were placed over the hull’s floor. They didn’t stretch the whole length of the hull, but ended just where the hull bends upward.
The inside edge of the sheer camp should be rounded off with a hand plane and sandpaper before this phase can be finished.
Then, between the sheer clamp and the deck, a fillet of epoxy mixed with sanding dust is placed, allowing the fibreglass cloth to form over the sheer clamp.
The fabric is placed and smoothed with a brush, as in previous procedures.
- Cut the hole for cockpit
It’s time to rip a hole in the lovely deck. For the cockpit, make an egg-shaped opening. After tracing the shape on the deck.
Use a utility knife to start the cut and a jigsaw to finish it. Each spacer was cut into two vertically running pieces before being bonded and fastened to the deck around the cockpit aperture.
- Cut the holes for hatches
Cut two more holes in the deck, one for the rear hatch and one for the forward hatch, in the same manner as the cockpit hole.
Behind the cockpit, the rear hatch was installed. It was constructed in the shape of a hexagon. The forward hatch should be positioned in front of your foot bracing.
- Make foot braces
You may either create or buy an adjustable set. The foot brace braces were connected to the studs using adhesive.
The studs were attached to the side walls down from the top edge of the lower hull with thicker epoxy and levelled by sight with a strip.
Two pieces of fibreglass cloth were epoxied over the head of each stud after the epoxy setting to provide additional strength.
- Make bulkheads
Immediately below the cockpit and just behind the forward door is a foam bulkhead.
It’s preferable to choose closed cell foam that’s at least 3 inches thick. a portion of a camping sleeping pad laminated to polystyrene foam. To bond the parts together, use exterior quality silicone calking.
The shape was derived from a bigger form nearby. Attach the bulkheads with the same caulking.
They’ll be fastened to the lower hull first, then the silicone will be put to the top of the bulkhead where the deck meets the bulkhead when the deck is joined.
- Attaching and finishing the deck
The bottom hull should contain screw holes where it was previously linked to the shear clamp.
Apply silicone to the bulkheads’ upper surfaces. I next added thicker epoxy to the deck’s outer edge of the shear clamp.
To attach the deck to the bottom hull, use brass flat head screws. Finally, to finish the kayak varnish it.
You can read our blog on how much a kayak weigh
Conclusion
While learning how to construct a kayak may be a fun DIY project if you have a lot of free time, buying one of the finest sit on top kayaks or recreational kayaks can be a more convenient and time-consuming method to start into kayaking.